Don't Waste Time!
I was always taught that 2 thin coats are better than one thick one.
Now, in all my years of work, I’ve never really been able to confirm the reasoning behind that notion.
However, I have found that in only, maybe, 5% of the time, have I actually been able to get only one coat to cover well. Even with what they profess to be “one coat coverage” paint.
So here's todays how to paint tip...
So, although there are a few times when you’ll want to “put it on thick”, when you see that one coat of paint just isn’t gonna do the trick, don’t even waste your time trying to make it work. Just save your time on that 1st coat and “git r done”. Then go ahead and plan on applying that 2nd coat of paint after the 1st is dry. It’ll save you a lot of time and frustration trying to “do it right the first time” when it isn’t going to look right anyway without the 2nd coat.
If you're planning on using a primer coat first, keep two things in mind;
1. Most paint companies now offer paint with paint & primer all in one.
2. Many times, primers can be tinted to a color close to your finish color. When using this kind of primer, your one finish coat will probably cover.

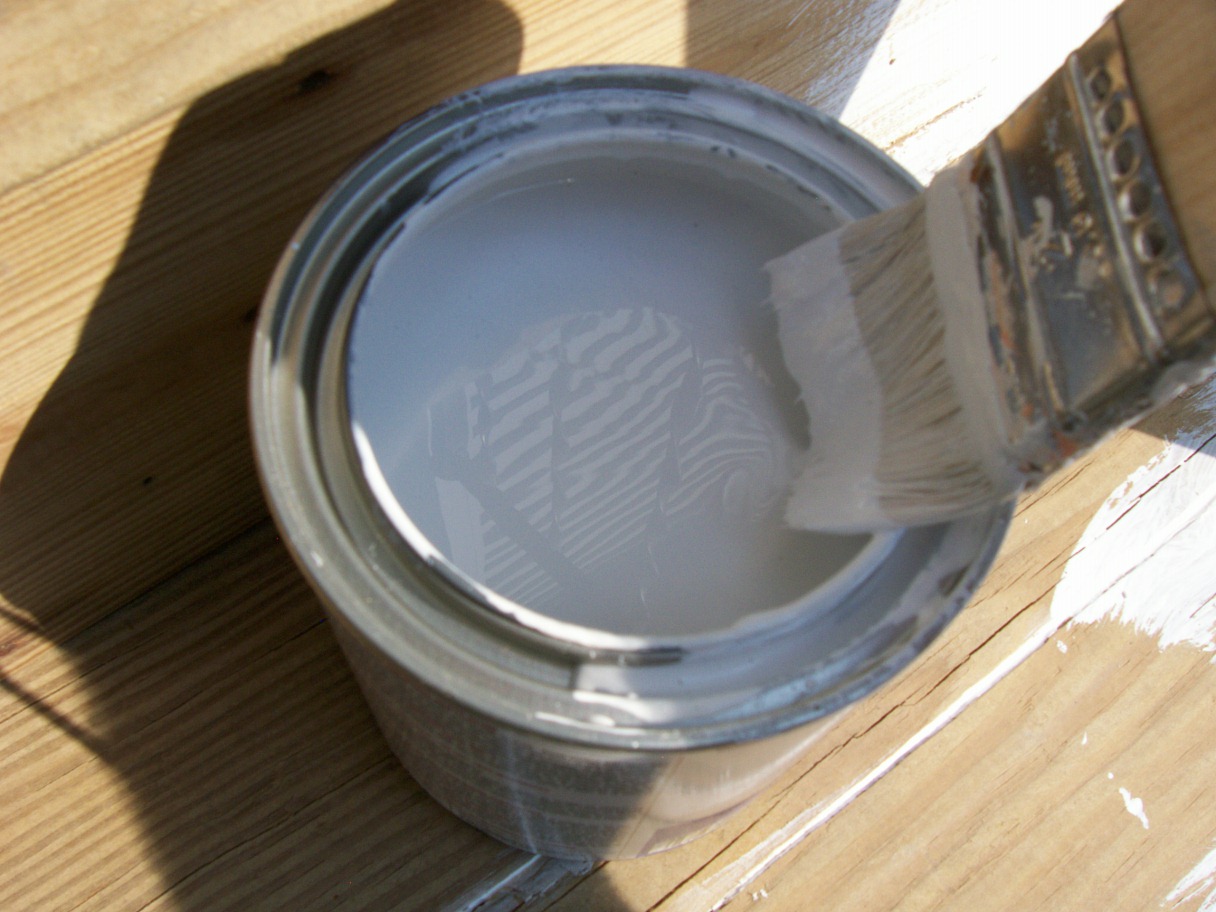
I think most people think that using an expensive brush will give them a better job.
In my experience, about the only thing a “better” brush does is that it may hold more paint, so maybe, you wont’ have to reload the brush as often.BUT, I’ve found 2 ways to make it much faster to load the brush so that won’t be much of an issue.

1. Use a roller tray to put your paint in.
Then after you dip your paintbrush, brush the excess off one side of the paintbrush by sliding it up across the ribs of the tray. You just need to “clean” one side of the brush and you’re ready to apply paint to your project. This is a lot faster than brushing the paint brush against the rim of the paint can as you pull it out because you just don’t have to be as careful about doing it. –
.
2. Sometimes, you don’t have to dip into the can at all.
 If
you’re painting a pretty good size flat surface, you can actually just
pour some paint onto the surface and then spread it around where you
need it with the paintbrush. After all, you don’t have to be neat about
getting paint onto the work surface, you just want to make sure the
finish film looks nice. Usually, you’ll want to be sure all the final
brush strikes are going in the same direction. This leads me to another
thought…
If
you’re painting a pretty good size flat surface, you can actually just
pour some paint onto the surface and then spread it around where you
need it with the paintbrush. After all, you don’t have to be neat about
getting paint onto the work surface, you just want to make sure the
finish film looks nice. Usually, you’ll want to be sure all the final
brush strikes are going in the same direction. This leads me to another
thought…
To avoid what I’ll call “start marks” in your job, it helps if you apply your finish strokes starting from where you’re at and going towards where you’ve been. (From dry to wet paint).
2. Sometimes, you don’t have to dip into the can at all.

To avoid what I’ll call “start marks” in your job, it helps if you apply your finish strokes starting from where you’re at and going towards where you’ve been. (From dry to wet paint).
.
Wondering About Lead Based Paint? Read More
.
 Painted With a Cheap Brush!
.And back to using a “good” paint brush…
A good brush may be able to be cleaned a few more times than the cheaper ones. Although that would take some scientific research to confirm.
It can take a good amount of time to clean a brush thoroughly, so depending on how valuable your time is, it may be cheaper in the long run, to use a cheaper brush and then just throw it away when you’r done. This is especially true for small jobs.
This being said, I do like using brushes with short handles, sometimes known as shortys. Here's my favorite!
One More Piece of Advice...A good brush may be able to be cleaned a few more times than the cheaper ones. Although that would take some scientific research to confirm.
It can take a good amount of time to clean a brush thoroughly, so depending on how valuable your time is, it may be cheaper in the long run, to use a cheaper brush and then just throw it away when you’r done. This is especially true for small jobs.
This being said, I do like using brushes with short handles, sometimes known as shortys. Here's my favorite!
Don’t start too close with a full brush.
I’ve seen it a lot over the years…first time painters take a paintbrush full of paint and start painting right up against the point where they want the finish line of the job to be. (up against something that you don’t want to get paint on.)
This ends up with a big glob of paint or heavy line of paint right along that line and you can’t get rid of it..
Always make your first pass a short distance away from where you want your finish line to be. This lets your loaded paint brush unload the overload near where you need it without getting too much where you don’t want it. – Then gradually, work your brush strokes closer to your finish line applying just the amount of paint you want or need at those points where you do want them.
And, of course, for the bigger jobs, there are power rollers and power sprayers that really save time. Just remember, it will take at least 20 minutes to clean power equipment properly when done..
Happy Painting!
What would you have done? Enter your comments below!
No comments:
Post a Comment
Feel free to ask questions or make comments.